Archive

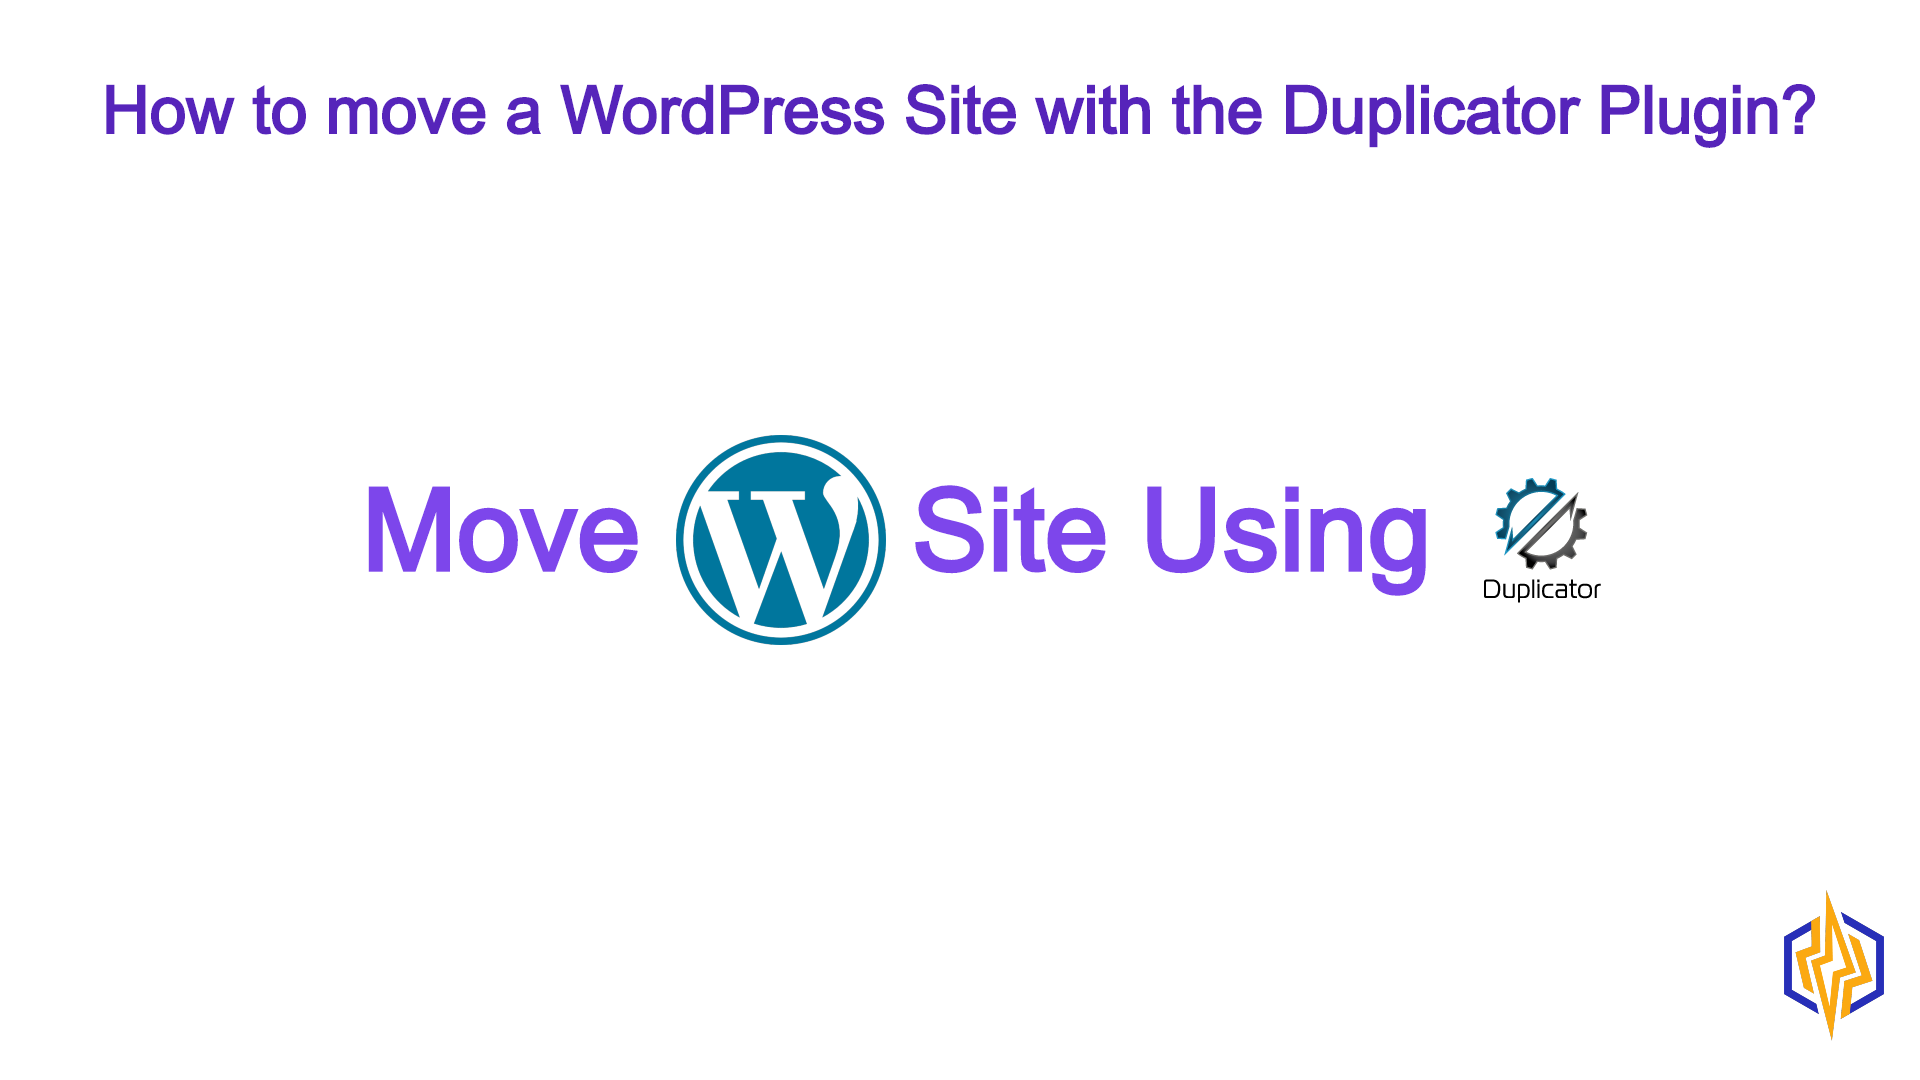
Move a WordPress Site with the Duplicator Plugin

The process of moving a site from one server to another is a very important and difficult task. The main risk during site migration is Downtime. Which can happen with the possibility of data loss? In this article, we will explain how to move a WordPress site with the Duplicator plugin.

This will allow you to move your site from any other platform directly to CyberPanel or other control panels.

Table Of Contents

  1. Duplicator Plugin Setup
  2. Export site using Duplicator Plugin
  3. Setup site on the new server

Duplicator Plugin Setup:

Duplicator Plugin gives WordPress users the ability to copy, move, migrate, or clone any WordPress site. You can easily copy, move, and transfer your website from one server to another. You can also move your site from local to live server direct. First, we need to know how to install and set up the Duplicator plugin on our site.

Install Duplicator Plugin:

Duplicator Plugin is a free WordPress plugin. And available to install in the Plugins section of the WordPress Admin Dashboard. There are many ways to install WordPress plugins. Follow these steps to install the Duplicator plugin.

Install from Plugin section:

To install the plugin directly from the WordPress plugin directory. You have to visit the WordPress admin Dashboard then ‘Plugin’->Add New.

move a WordPress site with the Duplicator plugin

After clicking the Add New button. Here you have to find the duplicator in the search box. And you will get the first result of your desired plugin. Click Install Now to install this plugin.

image 26

Once the plugin is installed, it is time to activate the Duplicator plugin. Press the Activate button to activate.

image 28

Once you activate the plugin you can see Duplicator option in the menu section of Admin Dashboard.

image 30

Export site using Duplicator Plugin:

Once you’ve installed the Duplicator plugin, it’s time to prepare your site for migration. Follow these steps to move your site using the plugin.

You can see the Duplicator plugin in the left-side menu.

Now click on “Duplicator > Packages”. You can see this screen.

image 31

Its time to start the process. Click the ‘Create New‘ button.

image 32

After clicking Create New, you will be given 3 options:

  1. Setup
  2. Scan
  3. Build

1-Setup

You have four options during set up phase.

  1. Name: (Give the Name to make a file).
  2. Storage: (You can select where to save the file).
  3. Archive: (Check Archive files).
  4. Installer: (See the settings for installer file).
image 33

After checking them all, click on the Next button for the next step.

2-Scan

In the next step, you can see the scanning for export.

image 34

After the scan is complete, you will need to check its status and click Yes to build.

image 35

3-Build

After completing the build phase, you can see this screen.

image 36

From here you can get one-click download or archive and installer two files.

Setup site on the new server:

After the successful download of the installer and archive or .zip file. Now it’s time to move the site to another server. Follow the steps to do so.

Upload Installer and Archive File:

Upload both installer and archive files to your server. Always upload your file to the public_html folder of your site. You can upload using an FTP account. In the case of CyberPanel, you can also upload files from the File Manager in Website Manager. Follow the tutorial below to upload using FTP.

http://help.dugeo.com/m/faq/l/175136-how-to-upload-to-our-ftp-server

Install WordPress Website Using Installer

Now, it’s time to run the installer setup on your server. To do this, you need to go to your website address /installer.php at the end. Like www.abc.com/installer.php

If everything is fine up to this step, the next step is the extraction of the Archive file.

Extract the Archive

After visiting the installer page, you will see a screen like this:

extra archive

Click the Next button to proceed after checking the options.

Database Setup

Now create a database to transfer your site. Follow the database creation process.

Run the Installer

The Duplicator plugin works best with empty databases. Hence, before moving forward, you need to remove all previous data.

Next, the database window will open. You need to check the checkbox named tables to select all the tables in the database. Next, click the Drop button to remove the selected tables.

cloudways database

Click the Yes button.

install database

Data Replacement

Once you reached the 4th step click the YES button, you will be given a URL, Path, and Title automatically.

image 37

Now, click the Next button.

Test the Live Site

If it all works, you’ll see “Step 4 of 4: Test Site”. There you’ll want to click the “Site Login” button, and log in to your WordPress site using the same username and password as you have on the remote site.

step 4: download

Join our Affiliate Program and get bonus.

Read More: HOW TO CHANGE TIMEZONE ON LINUX SERVER

Follow US on Facebook / Twitter  for update.

How to optimize WordPress site using LSCache Plugin

Learn from Niel Patel as to why slow speed is a killer for your online business and let see how you can easily speed up your website.

WordPress is a free Content Management System (CMS) used by more than 60 million websites, WordPress is one of the most popular CMS solutions. Considering the popularity of this CMS, optimizing WordPress sites to load quickly is very important and sometimes it is difficult. PageSpeed of any website is one of the major factors for both usability and SEO. In this article, we will discuss how you can improve the loading speed of your WordPress site using LSCache Plugin.


Table of Contents

  1. What is PageSpeed or Page Optimization?
  2. Factors that affect the PageSpeed of a WordPress site.
  3. How to improve PageSpeed.
  4. How to check PageSpeed.
  5. Benefits of PageSpeed.

1. What is PageSpeed or Page Optimization?

Basically PageSpeed means that how quickly a web page load when a visitor clicks on the link or types in the URL. Usually, a visitor expects that their pages load quickly and this imparts a good first impression on them. PageSpeed not only creates a good impression but also improve search ranking as it affects the SEO


2. Factors that affect the PageSpeed of a WordPress site:

  1. Un-optimized media (Large-sized images and videos)
  2. Un-used CSS and JS
  3. Un-Minified CSS and JS
  4. Excessive Use of Plugins and Widgets (In-active and unnecessary plugins)
  5. WordPress Theme (Theme Choice is important)
  6. Poor Choice of Hosting Service.

3. How to improve PageSpeed:

Follow the steps mentioned below to improve overall speed of your WordPress site.

3.1 Optimize or Reduce media size:

Use of Images and videos make the content more beautiful and attractive but a common mistake is to upload pictures and video directly without any optimization. Always optimize media like videos and images before uploading it on site for use. Use the latest jpg/jpeg version only, PNGs should only be used when transparency is needed. Lower images result in smaller page sizes hence a boost to Pagespeed.

For the images that have been uploaded already, you can also use WordPress plugins for image optimization.

Most Common Image Optimization Plugins:

  1. LiteSpeed Cache
  2. Imagify
  3. Optimole
  4. ShortPixel Image Optimizer

There are many image optimization plugins on WordPress plugins directory, let see how we can use LiteSpeed Cache plugin to optimize images:

  1. Click on LiteSpeed Cache -> Image Optimization. 
  2. Click on Send for Optimization button until all the images are optimized
  3. Once optimization is completed click on Gather image Data.
  4. Check the Image information section on the right side, it shows the optimization status. Green ticks suggest complete optimization.
Image Optimization
  1. Go on the Image Optimization Settings Option on screen.
  2. Check all the options as shown in the picture.
Image Optimization

3.2 Minify HTML, CSS and JS Files:

Minification of HTML, CSS, and JS files are some of the most common and important steps to increase page speed.  Google PageSpeed Insights and/or any other page speed tool always recommends this.

This issue happens due to the white spaces and extra CSS and JS  on the website page.

You can fix these issues manually or use a WordPress plugin to do so. Some plugins are listed below.

  1. LiteSpeed Cache
  2. Autoptimize
  3. JCH Optimize

Minify CSS and JS using LiteSpeed Cache:

  1. Click on LiteSpeed Cache -> Page Optimization -> JS Settings
  2. Change your settings according to the image below
  3. Follow this guide in case this setting breaks any functionality or visual structure of your site
Js Optimization
  1. Click on LiteSpeed Cache -> Page Optimization -> CSS Settings
  2. Change your settings according to the image below
  3. Follow this guide in case this setting breaks any functionality or visual structure of your site
CSS Setings

3.3 Excessive Use of Plugins and Widgets:

Excessive use of Plugins and Widgets can also slow down your PageSpeed. Always take care of extra and unnecessary Plugins and Widgets. Uninstall all in-active and unused plugins from sites. Never add any unused widgets.

Delete extra/inactive Plugins

  1. Click on Plugins->Installed plugins -> InActive
  2. Click on the Delete option right below the plugin name
Uninstall Plugin

3.4 Theme Choice:

The choice of theme to run the site is very important. Always choose a lite-weight theme for your site. Unlicensed/nulled themes slow down PageSpeed of your site so always use a licensed theme for the site.


3.5 Choice of Hosting service:

Hosting service is one of the main reasons behind the low PageSpeed. To run a  site on a shared server may be good from a financial point of view but it usually fails to deliver good loading times on peak traffic hours. So always use a good web hosting provider for your site to achieve a better PageSpeed, SEO, and traffic.


4. How to Check PageSpeed:

There are many ways to check the page speed of any site. A lot of sites are there to check the Page Speed of any site. Google also offers a tool called Google PageSpeed Insights for this.

Some sites that can help you to check various factors affecting your PageSpeed:

How to optimize WordPress site using LSCache Plugin

5. Benefits of high PageSpeed:

  1. PageSpeed improves search engine rankings
  2. It is important for SEO
  3. It ensures a good first impression on the visitor
  4. Also, help to decrease the Bounce Rate so visitors love to navigate between pages

Read More: HOW TO CHANGE TIMEZONE ON LINUX SERVER

Follow US on Facebook / Twitter  for updates.