How to optimize WordPress site using LSCache Plugin
Learn from Niel Patel as to why slow speed is a killer for your online business and let see how you can easily speed up your website.
WordPress is a free Content Management System (CMS) used by more than 60 million websites, WordPress is one of the most popular CMS solutions. Considering the popularity of this CMS, optimizing WordPress sites to load quickly is very important and sometimes it is difficult. PageSpeed of any website is one of the major factors for both usability and SEO. In this article, we will discuss how you can improve the loading speed of your WordPress site using LSCache Plugin.
Table of Contents
- What is PageSpeed or Page Optimization?
- Factors that affect the PageSpeed of a WordPress site.
- How to improve PageSpeed.
- How to check PageSpeed.
- Benefits of PageSpeed.
1. What is PageSpeed or Page Optimization?
Basically PageSpeed means that how quickly a web page load when a visitor clicks on the link or types in the URL. Usually, a visitor expects that their pages load quickly and this imparts a good first impression on them. PageSpeed not only creates a good impression but also improve search ranking as it affects the SEO
2. Factors that affect the PageSpeed of a WordPress site:
- Un-optimized media (Large-sized images and videos)
- Un-used CSS and JS
- Un-Minified CSS and JS
- Excessive Use of Plugins and Widgets (In-active and unnecessary plugins)
- WordPress Theme (Theme Choice is important)
- Poor Choice of Hosting Service.
3. How to improve PageSpeed:
Follow the steps mentioned below to improve overall speed of your WordPress site.
3.1 Optimize or Reduce media size:
Use of Images and videos make the content more beautiful and attractive but a common mistake is to upload pictures and video directly without any optimization. Always optimize media like videos and images before uploading it on site for use. Use the latest jpg/jpeg version only, PNGs should only be used when transparency is needed. Lower images result in smaller page sizes hence a boost to Pagespeed.
For the images that have been uploaded already, you can also use WordPress plugins for image optimization.
Most Common Image Optimization Plugins:
- LiteSpeed Cache
- Imagify
- Optimole
- ShortPixel Image Optimizer
There are many image optimization plugins on WordPress plugins directory, let see how we can use LiteSpeed Cache plugin to optimize images:
- Click on LiteSpeed Cache -> Image Optimization.
- Click on Send for Optimization button until all the images are optimized
- Once optimization is completed click on Gather image Data.
- Check the Image information section on the right side, it shows the optimization status. Green ticks suggest complete optimization.

- Go on the Image Optimization Settings Option on screen.
- Check all the options as shown in the picture.

3.2 Minify HTML, CSS and JS Files:
Minification of HTML, CSS, and JS files are some of the most common and important steps to increase page speed. Google PageSpeed Insights and/or any other page speed tool always recommends this.
This issue happens due to the white spaces and extra CSS and JS on the website page.
You can fix these issues manually or use a WordPress plugin to do so. Some plugins are listed below.
- LiteSpeed Cache
- Autoptimize
- JCH Optimize
Minify CSS and JS using LiteSpeed Cache:
- Click on LiteSpeed Cache -> Page Optimization -> JS Settings
- Change your settings according to the image below
- Follow this guide in case this setting breaks any functionality or visual structure of your site

- Click on LiteSpeed Cache -> Page Optimization -> CSS Settings
- Change your settings according to the image below
- Follow this guide in case this setting breaks any functionality or visual structure of your site

3.3 Excessive Use of Plugins and Widgets:
Excessive use of Plugins and Widgets can also slow down your PageSpeed. Always take care of extra and unnecessary Plugins and Widgets. Uninstall all in-active and unused plugins from sites. Never add any unused widgets.
Delete extra/inactive Plugins
- Click on Plugins->Installed plugins -> InActive
- Click on the Delete option right below the plugin name

3.4 Theme Choice:
The choice of theme to run the site is very important. Always choose a lite-weight theme for your site. Unlicensed/nulled themes slow down PageSpeed of your site so always use a licensed theme for the site.
3.5 Choice of Hosting service:
Hosting service is one of the main reasons behind the low PageSpeed. To run a site on a shared server may be good from a financial point of view but it usually fails to deliver good loading times on peak traffic hours. So always use a good web hosting provider for your site to achieve a better PageSpeed, SEO, and traffic.
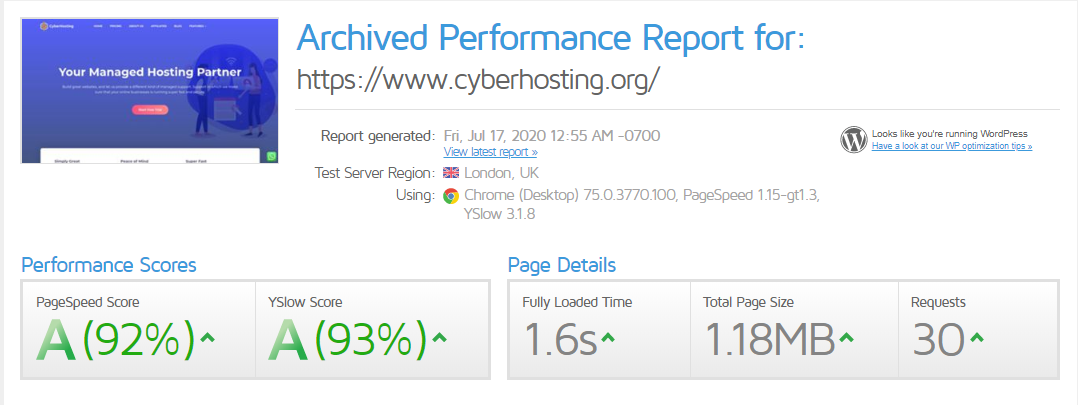
4. How to Check PageSpeed:
There are many ways to check the page speed of any site. A lot of sites are there to check the Page Speed of any site. Google also offers a tool called Google PageSpeed Insights for this.
Some sites that can help you to check various factors affecting your PageSpeed:

5. Benefits of high PageSpeed:
- PageSpeed improves search engine rankings
- It is important for SEO
- It ensures a good first impression on the visitor
- Also, help to decrease the Bounce Rate so visitors love to navigate between pages
Read More: HOW TO CHANGE TIMEZONE ON LINUX SERVER